For New Bedford, Massachusetts homeowners looking to enhance their outdoor spaces, installing a fence offers both privacy and security. This comprehensive guide tackles the DIY fence installation process, from selecting suitable materials for your property’s unique needs to ensuring long-lasting durability. We’ll walk you through each step, including measurement techniques, gathering essential tools and supplies, and practical tips for maintenance and longevity, empowering you to achieve a professional-grade fence without professional costs.
- Understanding Your Fence Options for New Bedford Properties
- Measuring and Planning Your Fencing Project
- Gathering Necessary Tools and Materials
- Step-by-Step Guide to DIY Fence Installation
- Tips for Maintaining and Extending the Lifespan of Your Fence
Understanding Your Fence Options for New Bedford Properties
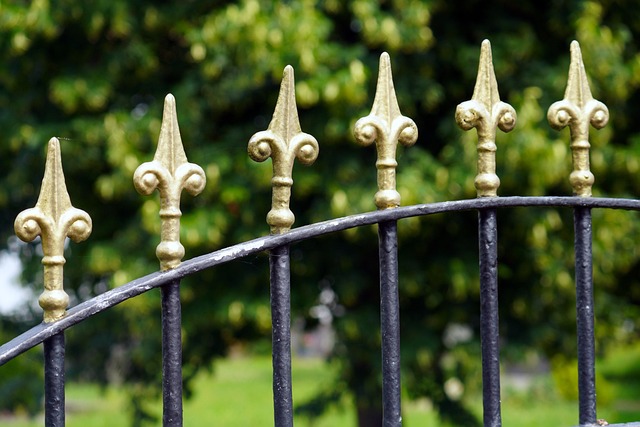
When considering fence installation in New Bedford, Massachusetts, homeowners have a variety of options to choose from. The first step is understanding the types of fences available and which best suit your property’s needs. Wood fences offer classic beauty and come in various styles like picket or privacy fences, requiring regular maintenance but providing excellent insulation against noise. Vinyl fences are low-maintenance alternatives, known for their durability and resistance to rot, appealing to those seeking a hassle-free option that retains its look over time. Chain-link fences offer both security and visibility, ideal for large properties or areas requiring additional protection, while iron or metal fences add an elegant touch with customizable designs but may be more expensive. Each material has unique advantages, so evaluating your priorities—aesthetics, privacy, security, or budget—is key to making an informed decision.
Measuring and Planning Your Fencing Project
Before you start installing your new fence, take some time to measure and plan your project thoroughly. Start by identifying where along your property line you want the fence to be located, ensuring it complies with local regulations and neighborhood aesthetics. Next, determine the size and shape of your desired fence, considering factors like gate placement and any potential obstructions. Measure these areas accurately using a tape measure or laser distance meter to get precise dimensions. Create a simple sketch or use fencing software to visualize your project, helping you identify potential challenges and plan for material needs. This step is crucial in ensuring your fence not only looks good but also serves its intended purpose effectively.
Gathering Necessary Tools and Materials
Before beginning your DIY fence installation project, it’s crucial to gather all the necessary tools and materials. This will ensure a smooth and successful process. For most fences, you’ll need basic tools like a tape measure, post-hole digger, hammer, level, wood chisel, and a saw for cutting posts and boards to size. Don’t forget protective gear, such as gloves and safety glasses, to safeguard against sharp edges and debris. Additionally, stock up on essential materials including fence posts, wooden or vinyl pickets, brackets, fasteners, concrete for setting the posts, and a suitable fencing finish like paint or stain. Checking local hardware stores or online retailers in New Bedford, Massachusetts will ensure you acquire high-quality tools and materials suited to your region’s climate and soil conditions.
Step-by-Step Guide to DIY Fence Installation
Installing a fence yourself can be a rewarding project for New Bedford homeowners looking to enhance their outdoor space. Here’s a straightforward, step-by-step guide to ensure your DIY fence installation goes smoothly. First, gather all necessary tools and materials, including your fencing posts, rail brackets, fasteners, string line, level, post-hole digger, concrete mix, and protective gear. Clear the area where you plan to install the fence, removing any trees, bushes, or debris that might obstruct your work. Using a string line, mark out the perimeter of your desired fence, ensuring it aligns with your property lines. Dig holes for the posts using your post-hole digger, making sure they’re deep enough (typically around one-third of the post’s height) and level. Place concrete in each hole, allowing it to set completely before proceeding.
Tips for Maintaining and Extending the Lifespan of Your Fence
Regular cleaning and maintenance are key to extending the lifespan of your fence. Start by sweeping or spraying off any built-up dirt, leaves, or debris at least once a month during spring and summer. Use a soft-bristled brush for wooden fences to gently remove stains and prevent mold growth. For metal fences, use a pressure washer or a mild detergent solution to keep rust at bay.
Repairs, such as fixing broken posts or replacing loose boards, should be addressed promptly to avoid further damage. Consider treating your fence annually with a waterproof sealant or stain to protect it from the elements and prolong its life. Regular inspection will help you catch potential issues early on, ensuring that your fence stays strong and attractive for years to come.